Creating an account on eFrelance is the first step toward connecting with global clients or finding top-tier freelancers for your projects. Whether you’re a freelancer looking for job opportunities or a business owner searching for skilled professionals, eFrelance offers a streamlined, secure platform to match talent with tasks.
“Success is not just about what you accomplish in your life, it’s about what you inspire others to do.” – Jack Welch
In this guide, we’ll cover everything you need to know to get started. We’ll walk you through the account creation process, provide tips for optimizing your profile, and share some essential information that will help you get the most out of eFrelance.
What is eFrelance?
Before diving into the account creation process, it’s essential to understand what eFrelance is and how it works. Essentially, eFrelance is an online marketplace where freelancers and businesses meet. The platform offers a user-friendly interface that allows freelancers to bid on projects, showcase their skills, and connect with clients worldwide. Businesses, on the other hand, can post jobs, review freelancer profiles, and select the best candidates for their projects.

For a more in-depth look at the platform, make sure to check out this guide: What is eFrelance and How Does it Work?.
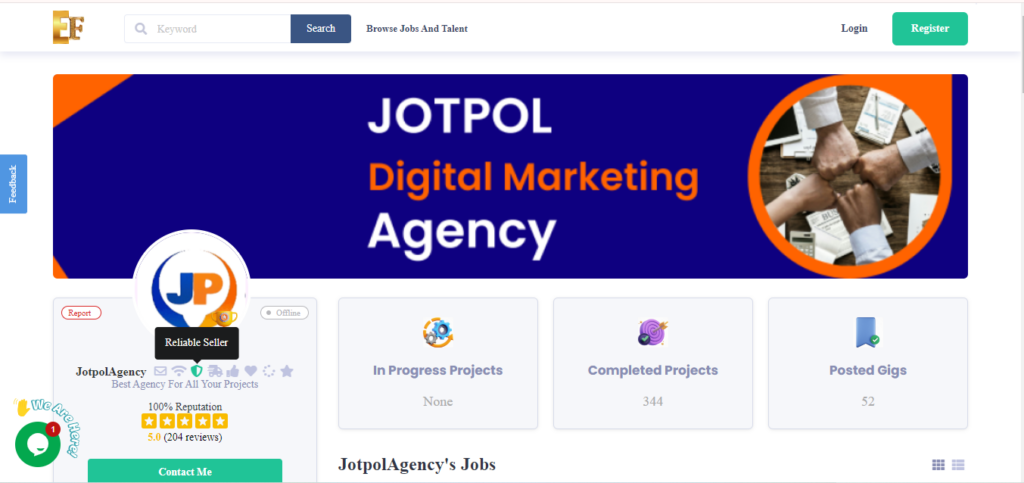
Step 1: Visit the eFrelance Homepage
To begin, head over to the eFrelance homepage. You can do this by typing “eFrelance” into your browser’s address bar or by searching for it on Google. Once there, you’ll find a clean, intuitive interface designed to cater to both freelancers and clients.
Look for the “Sign Up” or “Register” button, typically located at the top right-hand corner of the homepage. Clicking this button will take you to the registration page, where you can create an account.
Step 2: Choose Your Account Type
eFrelance offers two types of accounts: Freelancer and Client.
- If you’re a freelancer looking for job opportunities, select the Freelancer option.
- If you’re a business looking to hire professionals, select the Client option.
Both account types offer unique features tailored to your needs. Freelancers can create profiles to showcase their skills and apply for jobs, while clients can post projects and review bids from freelancers. Choose the account type that best fits your purpose on the platform.
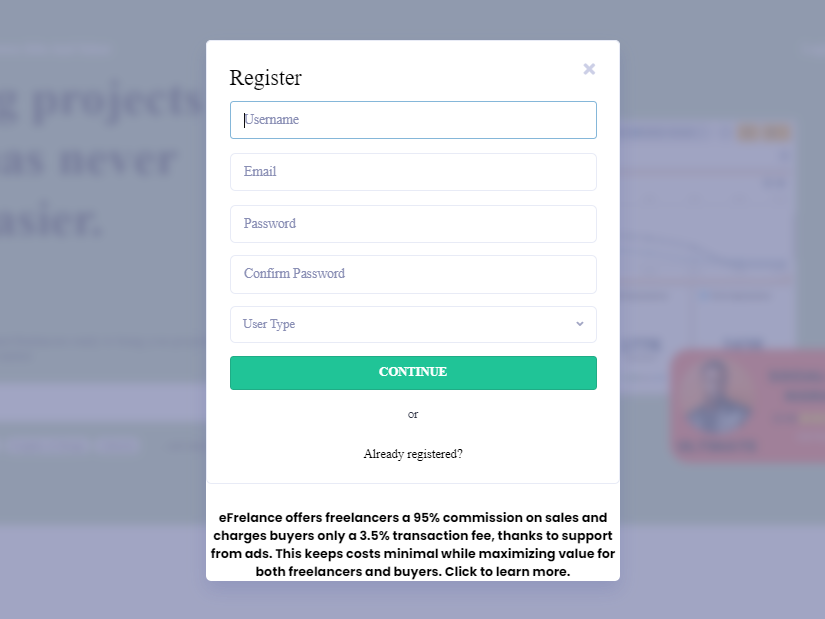
Step 3: Fill in Your Details
Once you’ve chosen the account type, the next step is to fill in your personal or business information. You’ll need to provide the following details:
- Email Address: Use a professional email address that you check regularly.
- Username: Choose a username that reflects your brand or identity.
- Password: Create a strong password to keep your account secure.
After completing these fields, you’ll be asked to agree to eFrelance’s terms and conditions. Make sure you read these carefully before proceeding. Once done, click “Sign Up” to move forward.
Step 4: Confirm Your Email Address
After signing up, eFrelance will send a confirmation email to the address you provided. This is a critical step to verify your account and ensure the security of the platform.
Check your inbox for the verification email and click the confirmation link. If you don’t see the email right away, check your spam or promotions folder. Once you’ve verified your email, your account will be officially active.
Step 5: Set Up Your Profile
Now that your account is activated, it’s time to set up your profile. For freelancers, this is one of the most important steps as it determines how potential clients will view you. A well-optimized profile can significantly improve your chances of landing jobs.
- Profile Picture: Upload a professional photo that gives a good first impression.
- Headline: Create a catchy and descriptive headline. For example, “Expert WordPress Developer” or “Creative Graphic Designer.”
- Description: Write a compelling bio that highlights your skills, experience, and the services you offer. Be clear, concise, and persuasive.
- Skills: List your core competencies, as this will make it easier for clients to find you based on their project requirements.
For more tips on optimizing your profile and making it more searchable, check out this helpful guide: Optimizing Your Profile for Search on eFrelance.
Step 6: Add Your Portfolio (For Freelancers)
If you’re a freelancer, adding examples of your work is essential for showcasing your expertise. A strong portfolio can give you a competitive edge when bidding on projects. Here’s what you can include:
- Previous Projects: Display work you’ve done for past clients.
- Case Studies: Provide detailed explanations of how you solved specific problems or achieved results.
- Links to External Work: If you have an online portfolio or website, include the links.
Adding a well-rounded portfolio will not only help you stand out but also boost your chances of being selected for higher-paying projects.
Step 7: Post Your First Job or Bid on Projects
For clients, once your account is set up, you can post your first job listing. Be specific about your project’s needs, budget, and timeline to attract the right freelancers. Freelancers, on the other hand, can start browsing through job listings and submitting proposals.
When bidding on projects, make sure your proposal is tailored to the specific job. Highlight how your skills and experience make you the best candidate for the job. Personalized proposals are far more likely to get noticed than generic ones.
Step 8: Understand the Payment and Communication System
One of the significant advantages of using eFrelance is its secure payment system. Clients can deposit funds into an escrow account, which are released to the freelancer upon successful completion of a project. This system ensures both parties are protected.
Additionally, eFrelance offers an in-platform messaging system that makes communication between freelancers and clients seamless. Use this feature to discuss project details, timelines, and any other concerns in a professional manner.
Creating an account on eFrelance is a straightforward process that can unlock a world of opportunities for freelancers and businesses alike. By following the steps outlined in this guide, you can quickly set up your account, optimize your profile, and start connecting with clients or freelancers on the platform.
As you continue using the platform, remember to keep your profile up-to-date, actively engage with clients, and consistently showcase your best work. For freelancers who want to elevate their freelancing career, consider exploring platforms like WordPress for portfolio development. For a comprehensive guide on how freelancers can use WordPress, read more here: WordPress Development for Freelancers: A Complete Guide.
By leveraging the features of eFrelance, you can build a successful freelancing business or hire top-tier talent for your next project. Good luck!